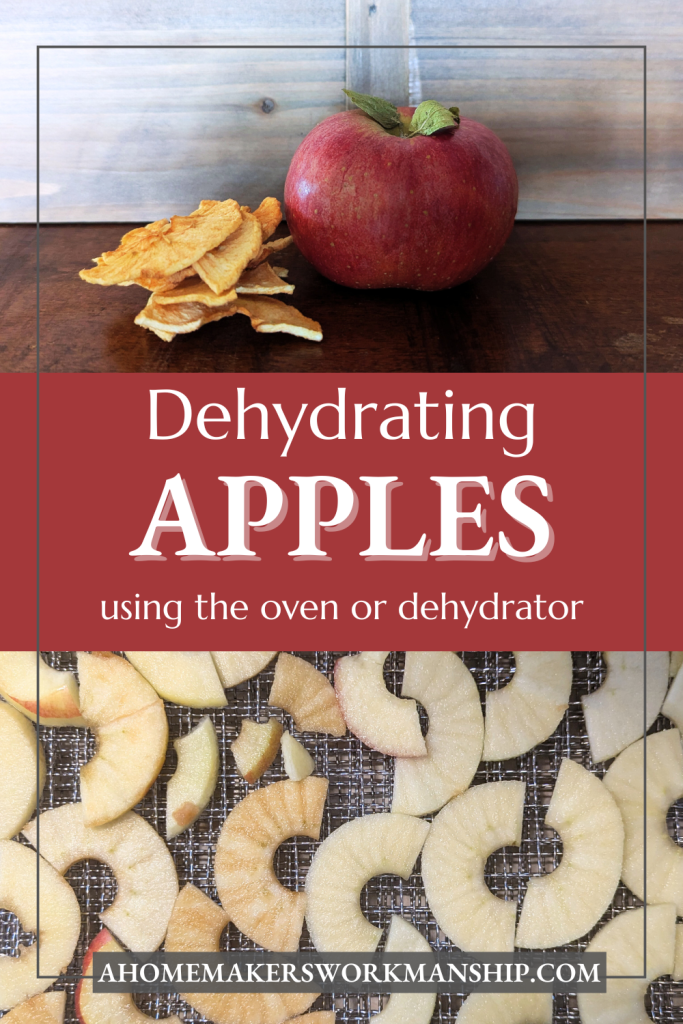
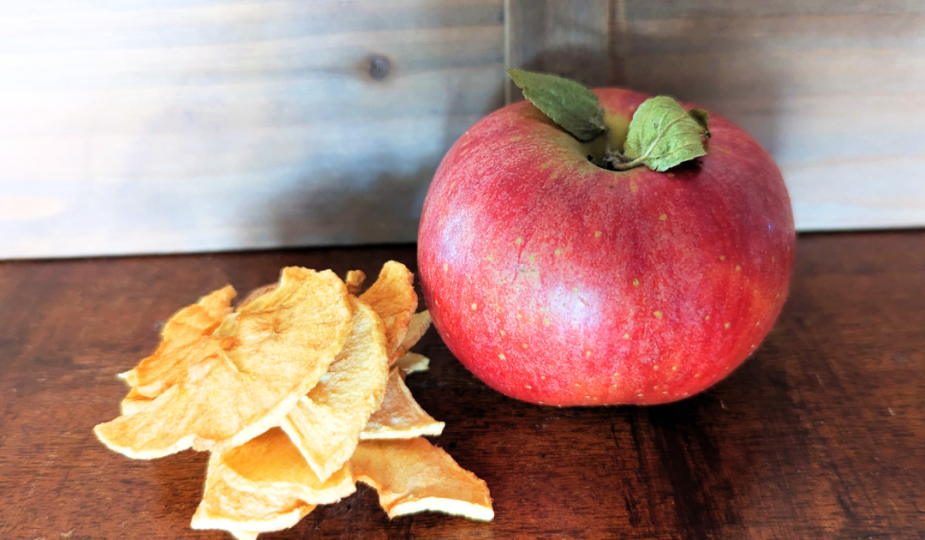
Today we are dehydrating apples to have for a snack or to add the baked goods, such as cookies or breads. They’re also great to have on hand for making oatmeal!
Recently I came across a wonderful deal for 1/2 bushel of York apples for only $7. So with no plan in mind, I bought them. After telling my mom about what a great deal I got, she asked me if I was going to dehydrate them. I hadn’t thought about it, but it was a great idea!
#1 Gather Supplies
I highly recommend using a dehydrator if you have one, but I will be giving you instructions for using both the dehydrator and the oven.
- Firm, not overly ripe apples of your choice
- Lemon juice in a spray bottle or a fruit preserver, such as Mrs.Wages Fresh Fruit Preserve (optional, to prevent browning. I did not use any.)
- A dehydrator or oven
- Dehydrator trays or cookies sheets
- Cutting board
- Sharp knife
- Apples peeler
- Apple corer
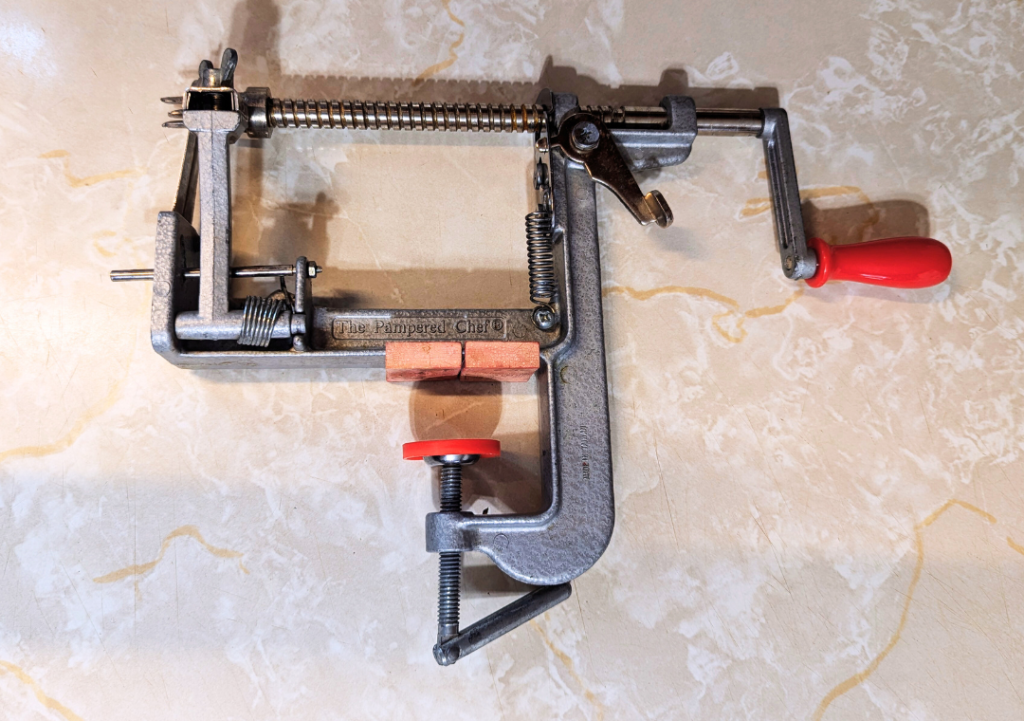
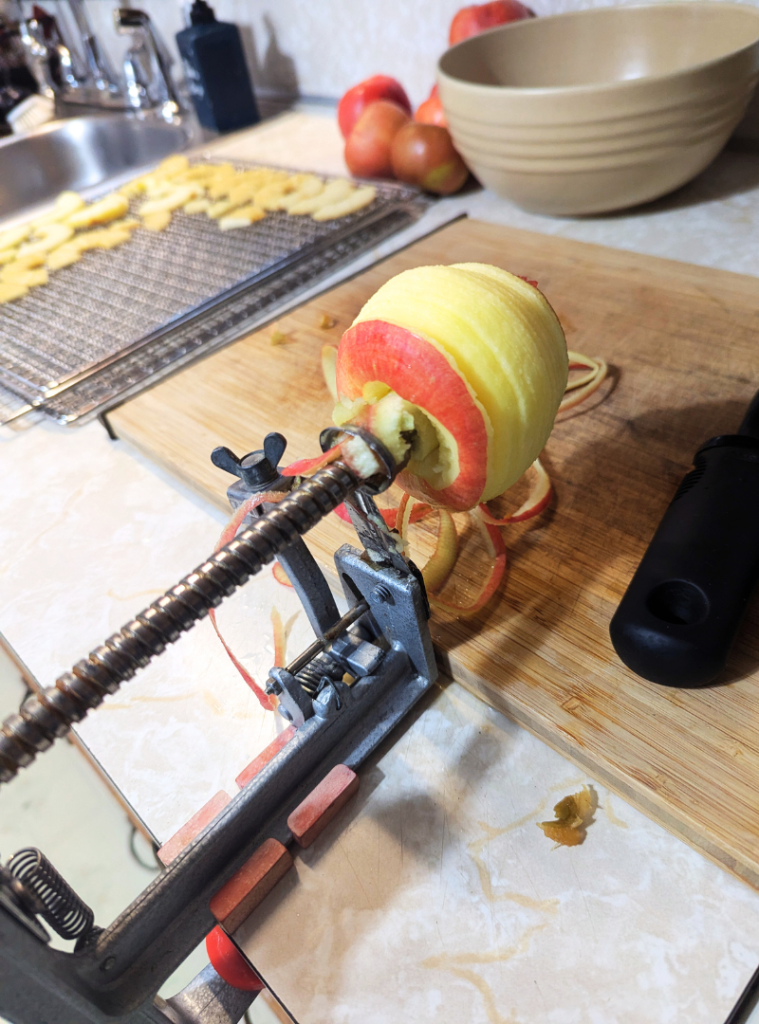
*I will be using a Pampered Chef Apple peeler that peels, cores and slices at the same time.
#2 Set Up Your Space
Make sure you clear plenty of space to work, and have everything set up the way you want it before beginning. If using lemon juice to prevent browning of the apples, have it ready. If using a fruit preserver, follow the instructions on the bottle.
For using a dehydrator: Set the dehydrator to as close to 125°F as possible; mine sets at 122°F. Get your dehydrator trays ready and set them next to your work space .
For using a oven: Position the oven racks toward the center of the oven, and set it to 185°F or as low as it goes. Set up a couple of cookie sheets next to your work space to dry your apples on, making sure that they all can fit in the oven at the same time.
#3 Prepare the Apples
Prepare slightly less apples than you think you need. You can always get more ready, but you don’t want to have more than you have room for. My dehydrator has 6 trays, so I estimated 1 1/2 apples per tray; this left me with more room for the peels.
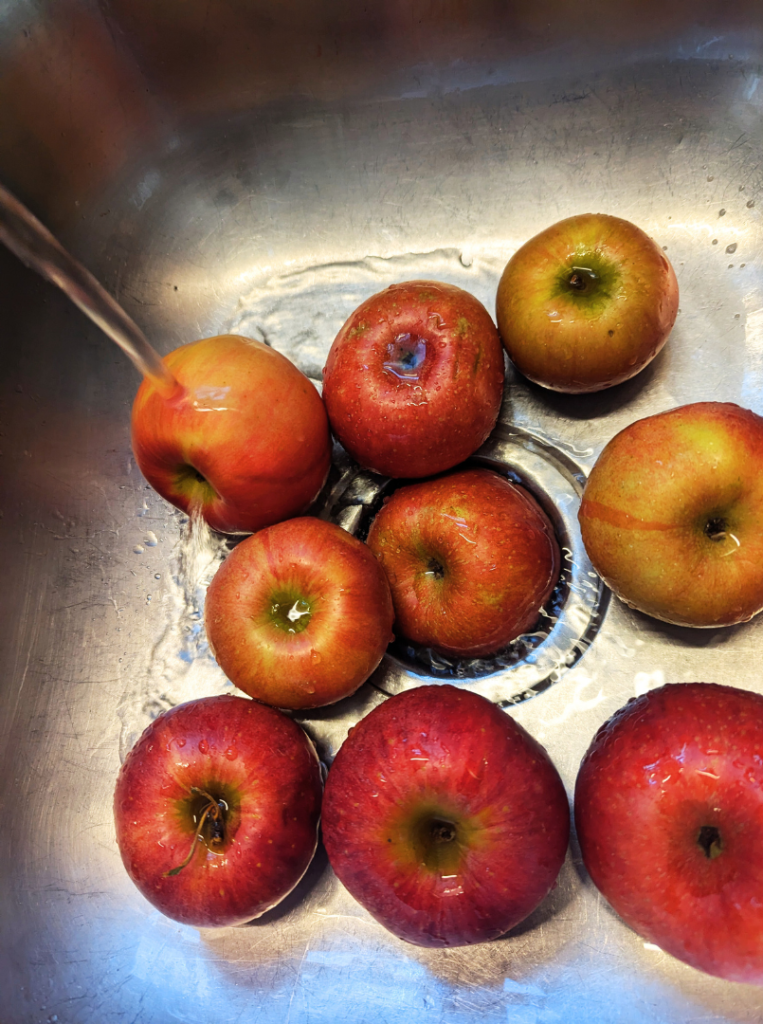
- Start by washing the apples well. This is especially important if you are going to dry the peels like I did or use them for something else.
- If you want to peel them, go ahead and do so. You can save the peels for making apple cider vinegar, dry them to make tea or blend them into smoothies.1
- Cut and core the apples however you would like. I’m doing thin slices and smaller pieces. Apple cores are just as useful as the peel! You can make jelly form them, vinegar, or eat them as they are.2
- If using lemon juice, spray the apples lightly as soon as you cut them. If using a fruit preserver, follow the instructions on the bottle.
#4 Spread on Trays and Dry
Place your apple pieces on your trays or cookie sheets, making sure to not over lap them and leave a little space in between pieces.
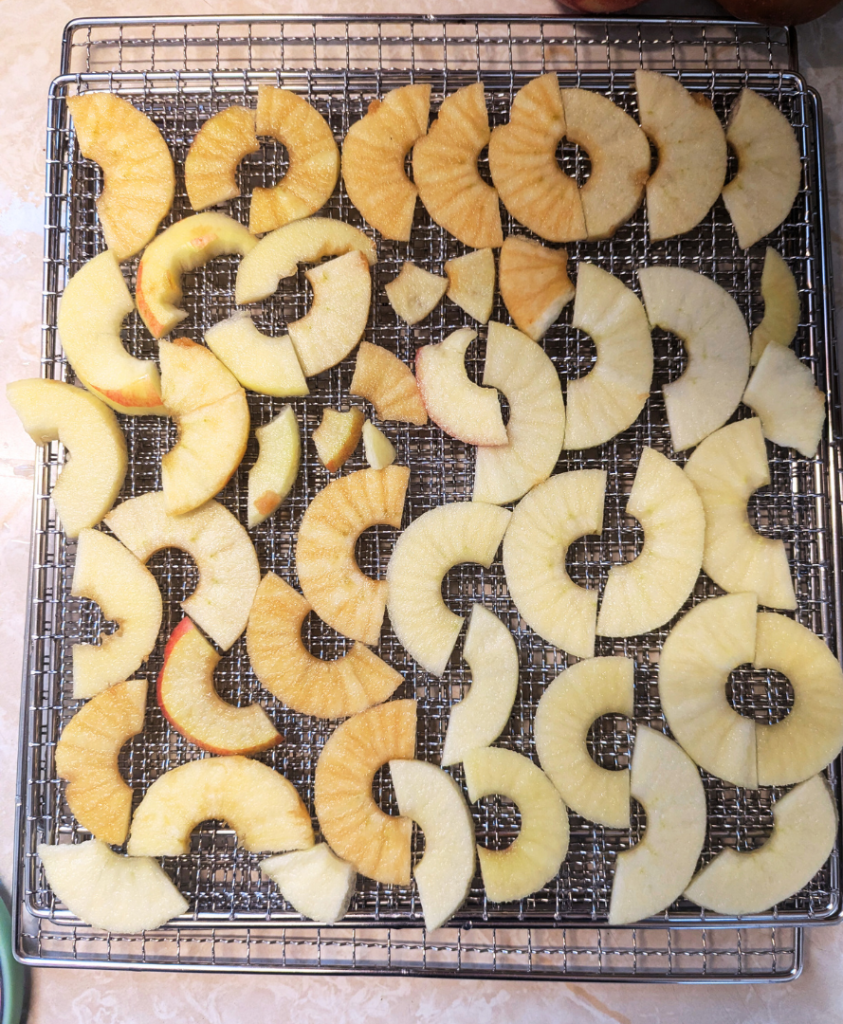
For a dehydrator: Place your trays in the dehydrator; it should already be set to temp and running. Once all of your trays are ready, dry the apples for 10-12 hours, depending on how thick the pieces are. You may want to flip the apples over half way through to help prevent sticking.
For oven: Place your cookie sheets in the center of the oven. Bake for 1 hour, flip the apples over and continue baking for another 1 1/2 hours. Drying may take more or less time depending on the ovens temperature and apple thickness, check them often.
To test if they are done: The apples should be dry and brittle, snapping in half easily. Sweeter apples will be more pliable when dried, but will still snap.
#5 Storing
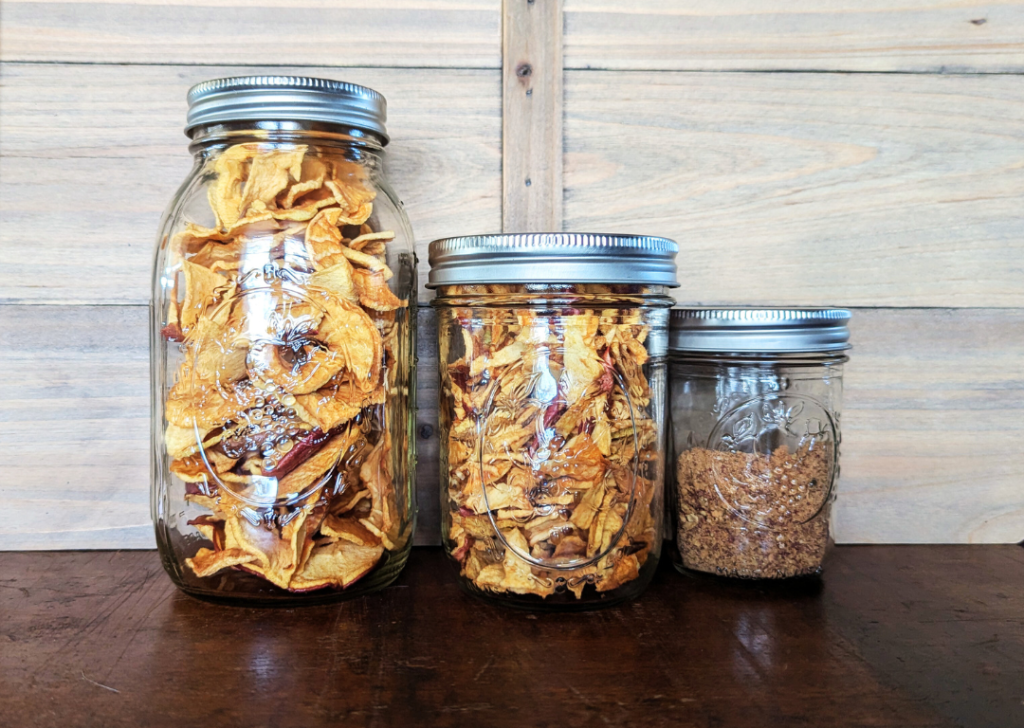
Dried apples can be stored short term in an air tight containers or jars and left in the pantry. To store long term, vacuum pack them with an oxygen pack. Store them safely away to keep any animals out along with sunlight and heat.
Making Apple Peel Powder
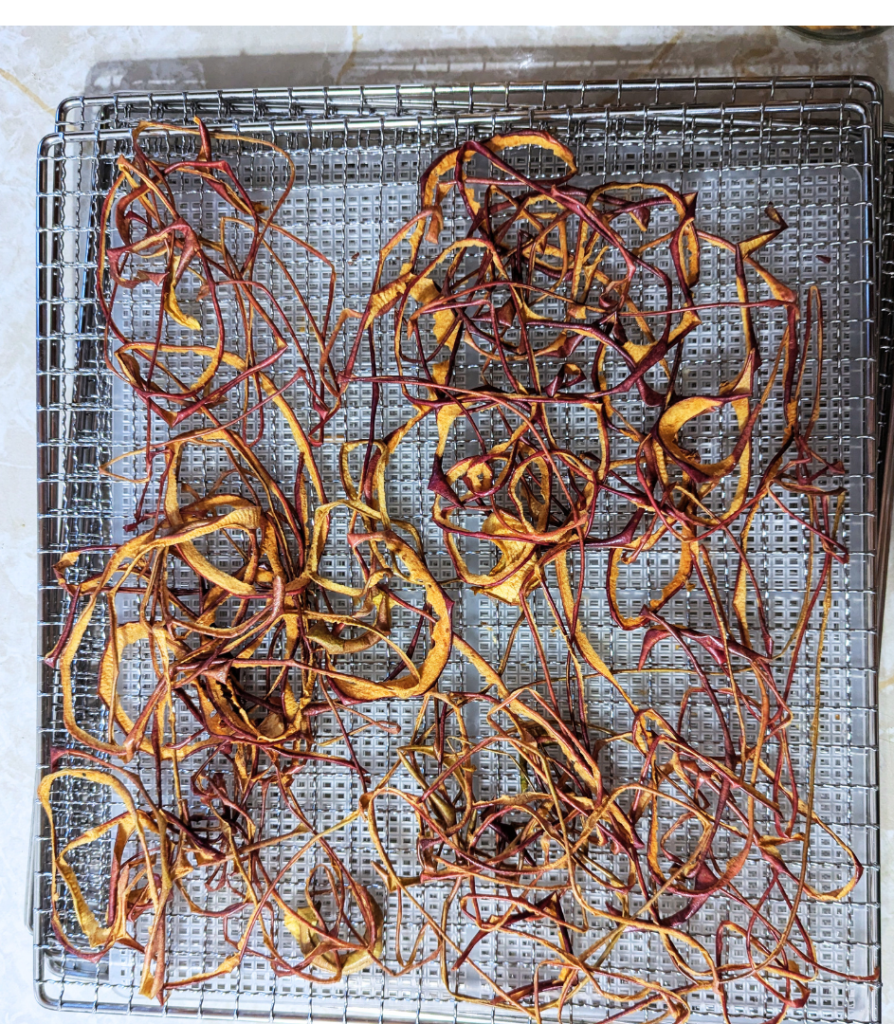
If you chose to dry your apple peels like I did, you can easily turn them into a powder!
Make sure the peels are completely dry and simply add them to a blender or food processor and blend. You may need to stop and stir them a few times, but within minutes (or seconds) you will have a lovely apple peel powder.
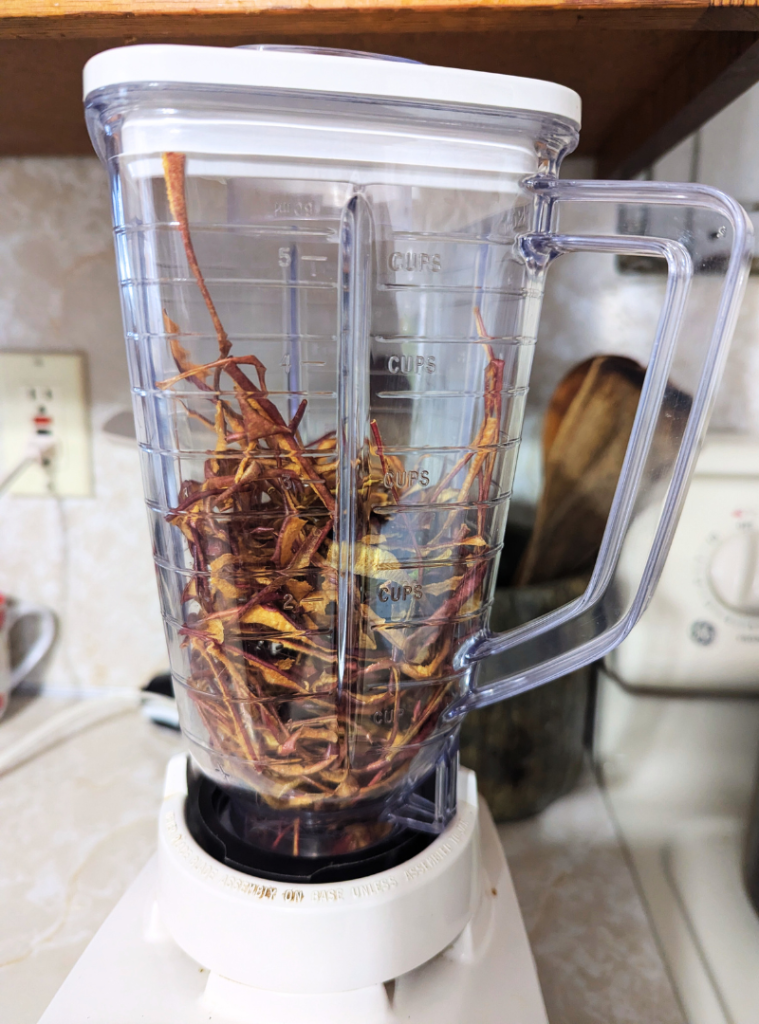
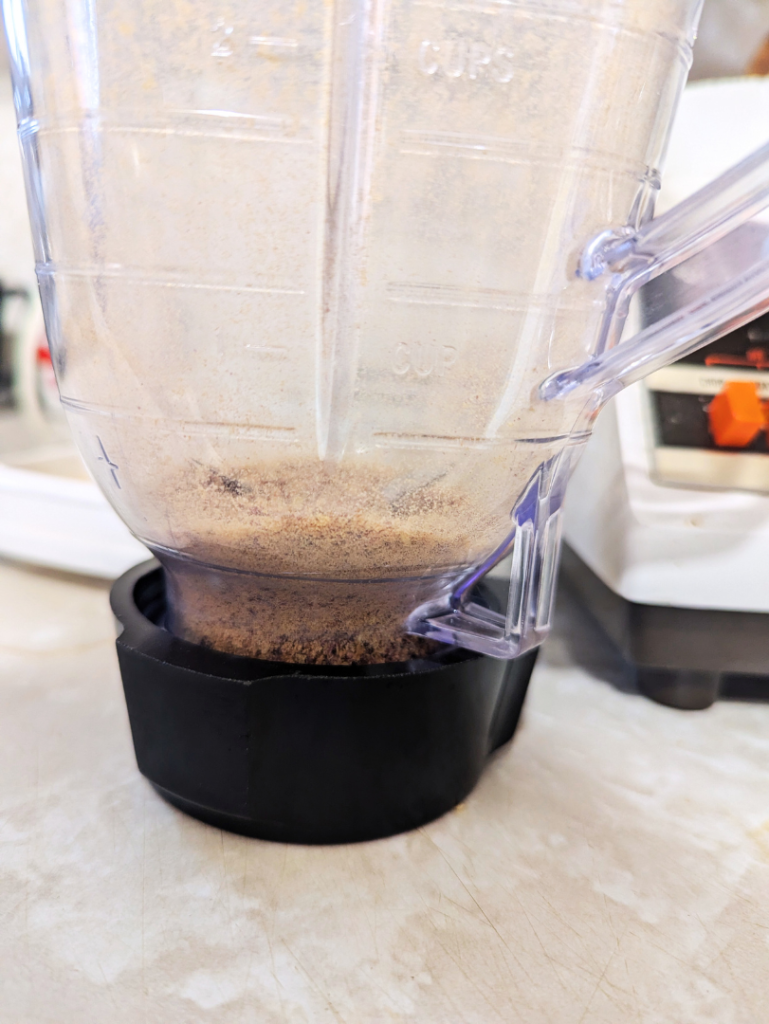
Use this powder to add flavor to smoothies, cookies, or oatmeal.
Dehydrate some flowers and add the powder to make tea, making your own custom tea bags.
Investing in a dehydrator is a great way to save money in the long run. You can use it in so many ways like making instant rice, drying veggie for soup, and saving produce before it goes bad.
It’s an easy way to preserve food, and can provide you with quick meal without taking up room in the freezer. I like to have a variety of dried vegetables on hand for making a quick and healthy soup on busy days.
As someone with a lot of allergies and intolerances, being able to control the ingredient in my food is very important, and having a dehydrator helps that a lot.
Do you have a dehydrator? What do you like to dehydrate?
Leave your comments and questions below, I love hearing from you!
References:
- 10 Ways to Use Leftover Apple Peels | thekitchn.com ↩︎
- What to Do With All Your Leftover Apple Cores | spoonuniversity.com ↩︎





[…] I will be posting more about different ways to preserve food, but in the mean time, check out this post about dehydrating apples! They make a wonderful snack and can save apples before they turn […]