There are so many ways to reduce food waste and save money in our kitchens, that this is part two of my reducing food waste series.
If you want to read part one, click here!
It can feel really good to know that you are getting the most out of your hard earned money by not letting anything go to waste. These are just a few ways that you can do that. Start with one or two, and slowly add them to your daily routine while in the kitchen.
It won’t be long until you start to notice the difference, and you’ll appreciate your own effort!
#1. Freeze Leftovers in Single Portions.
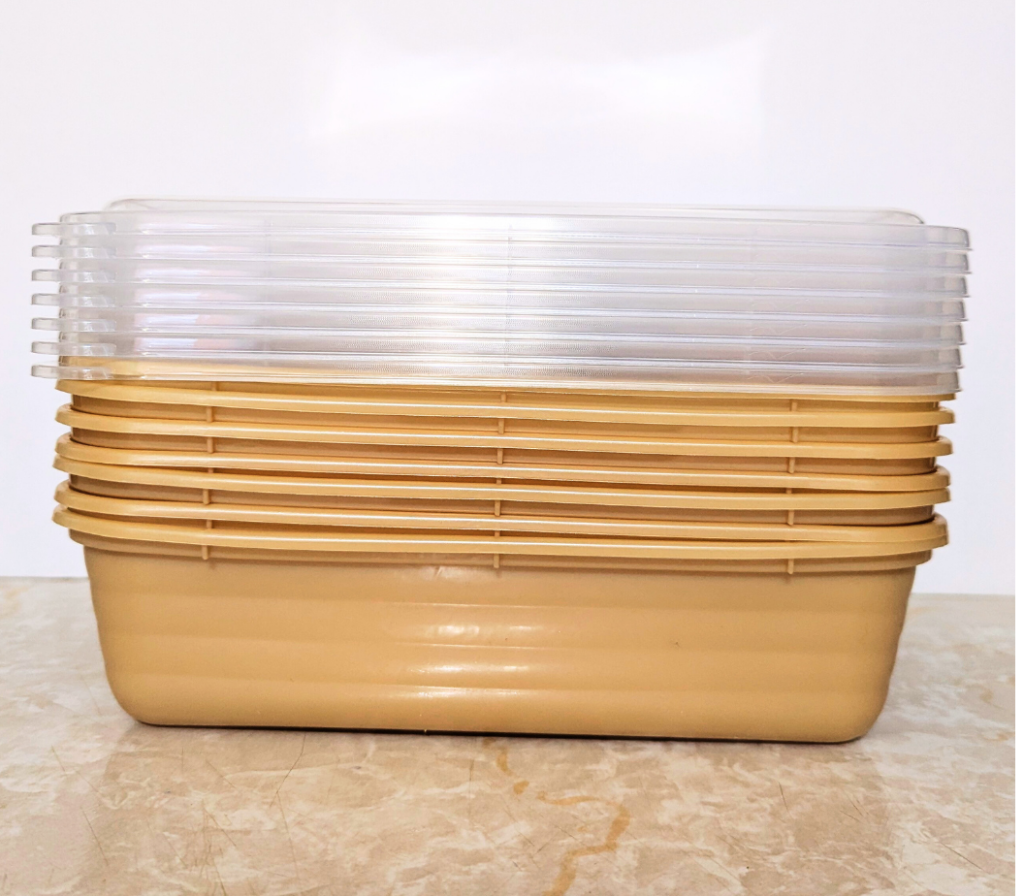
Keep some freezer safe containers on hand so that when you’re putting away leftovers, you can portion them out and stick them in the freezer. This allows you to have easy, cheap, ready-to-go meals for when you need them the most.
I got a great deal on these containers from my local Bealls. 20 pieces ( 10 full containers) for $6.99!
You can do this with each meal or wait until it’s time to clean out the fridge and freeze anything that didn’t get eaten up that week.
I especially like doing this for the weekends, so that when we are busy, I don’t have to worry about making dinner, or lunches. This is also nice for when my husband needs a lunch but there wasn’t any leftovers from dinner the night before.
#2. Label Everything
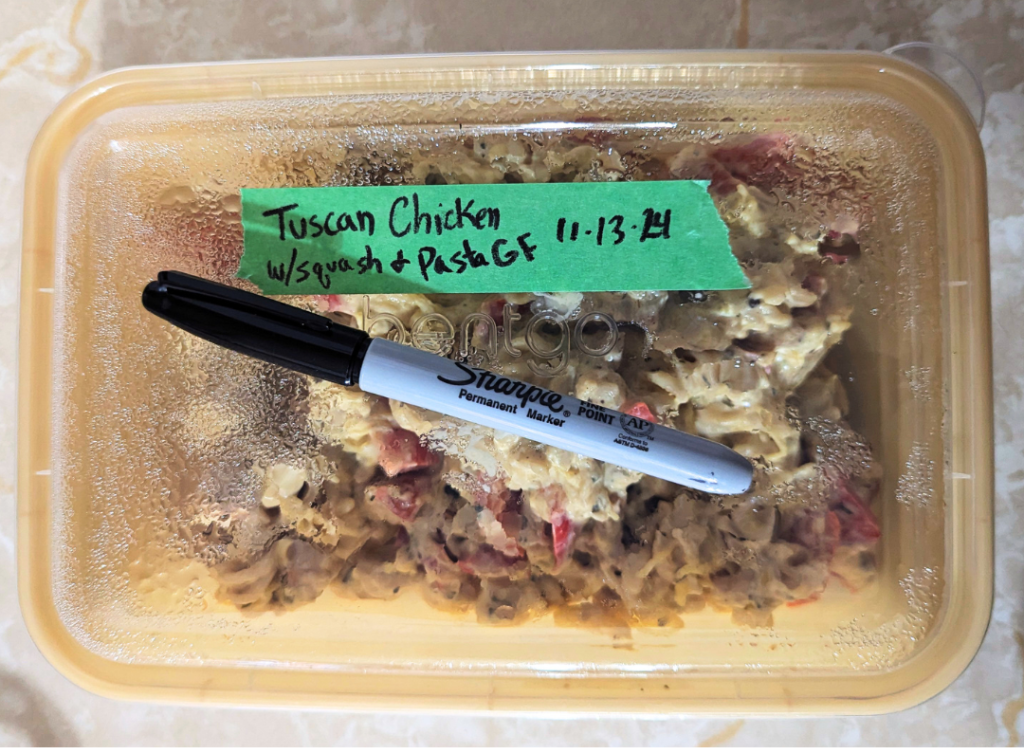
Take the time to label all of your leftovers, foods that you freeze, and all of your dry goods (beans, flour, rice, etc.).
Try keeping a Kitchen Innovatory so that nothing is forgotten about!
You don’t need to invest in a label maker. A roll of painters or masking tape and a permanent marker is all you really need!
Write down the contents of the container, jar, or, bag that you’re using, and the date. You can also write down if it’s safe for any allergies you or someone else in your home may have. This can help prevent a lot of heartache and confusion later on.
#3. Meal Planning.
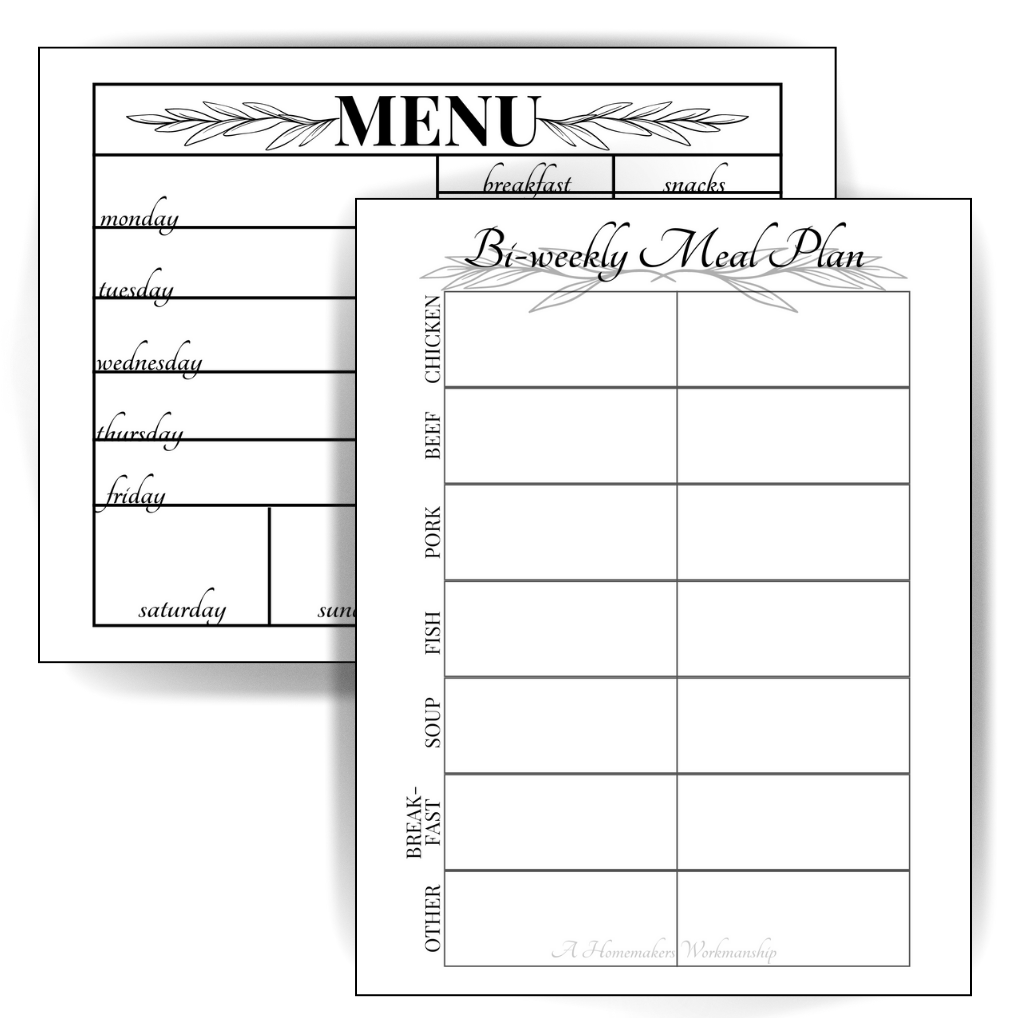
Planning out your meals and sticking to it, will help prevent you from buying food you don’t need. Planning out your meals bi-weekly, like I do, allows you to use up ingredients that you bought for one meal and had too much of.
For example: If you bought a whole head of cabbage for stir fry, and only used half, instead of it going to waste, you can then plan on using the other half for a meal the following week. (and don’t forget to save the cabbage core for broth!)
Click here to learn more about Bi-Weekly Meal Planning, and Why it Works.
#4. Dry Bread to Use in Other Ways.
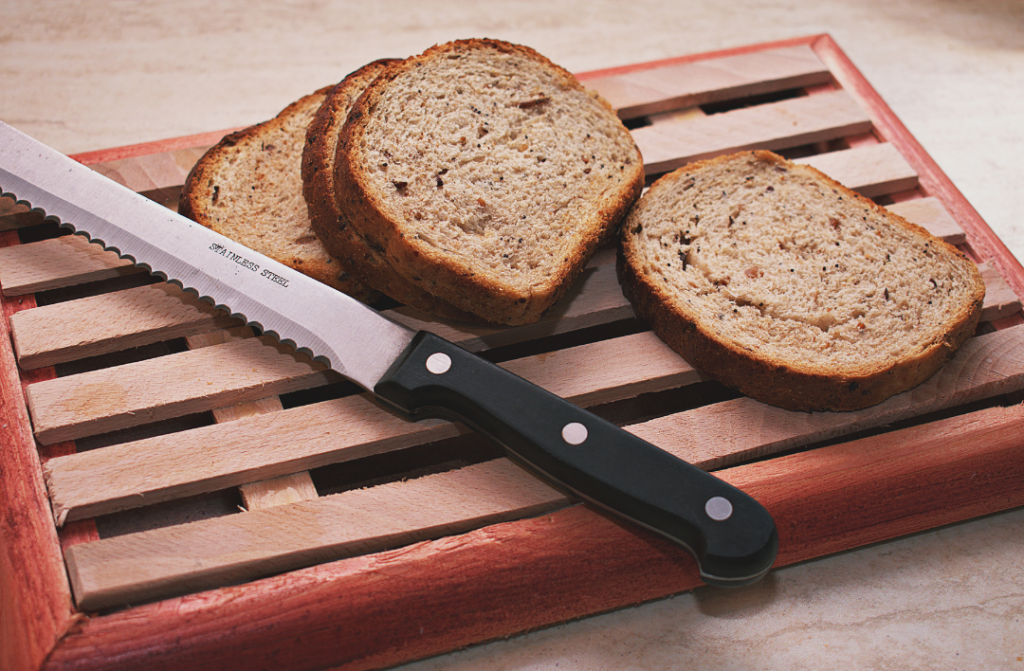
If you can’t finish a loaf of bread before it goes bad, try drying it out! You can do this in a dehydrator, in the oven or sometimes on the counter top. Of course you could also freeze it, but what about when you forget about a loaf and it goes stale on its own?
Drying bread may not sound super exciting but it can be made into bread crumbs, croutons, french toast, stuffing or one of my favorites: bread pudding.
How to Dry Bread in the Dehydrator:
- If making stuffing or bread pudding, cut your bread into cubes before drying.
- Set the dehydrator to 135°F.
- Lay your bread out on the dehydrator trays, and place them in the dehydrator.
- Dry for 3-4 hours.
- The bread should be hard, dry and break apart with no sponginess.
How to Dry Bread in the Oven:
- If you’re making stuffing or bread pudding, cut your bread into cubes before drying.
- Preheat the oven to it’s lowest setting. Somewhere between 150°-200°F.
- Lay your bread out onto cookie sheets and put them on the middle rack of the oven.
- Bake for 45 minutes to an hour, checking after the 45. If your oven doesn’t go lower than 200°F, check the bread after baking it for 15-30 minutes.
- The bread should be hard, dry and break apart with no sponginess.
How to Dry Bread on the Counter:
- This will only work if you don’t live in a very humid area.
- Cut you bread in cubes if you wish to use it for stuffing or bread pudding.
- Lay the bread out on a cookies sheet or better yet, on cooling racks.
- Set it somewhere that it won’t be in the way or where pets can get to it.
- Allow the bread to dry out for few days. If your bread is on a cookie sheet, turn them over once a day to allow air to flow to all sides.
- Check the bread often to make sure it isn’t molding and is actually going stale.
- Once dry, the bread should be hard, dry and break apart with no sponginess.
These methods will work with rolls and buns as well!

When I work on adding these into my routine (and the ones mentioned in part one), I notice the difference. They may be small changes but each one on its own reduces food waste, and the more you do, the less is wasted.
There’s a small amount of excitement that I get when I am able to save some bread to make a tasty dessert, or pull a container out of the freezer for a quick meal. It makes me appreciate myself and the things I do a little more.





[…] Part One Part Two […]