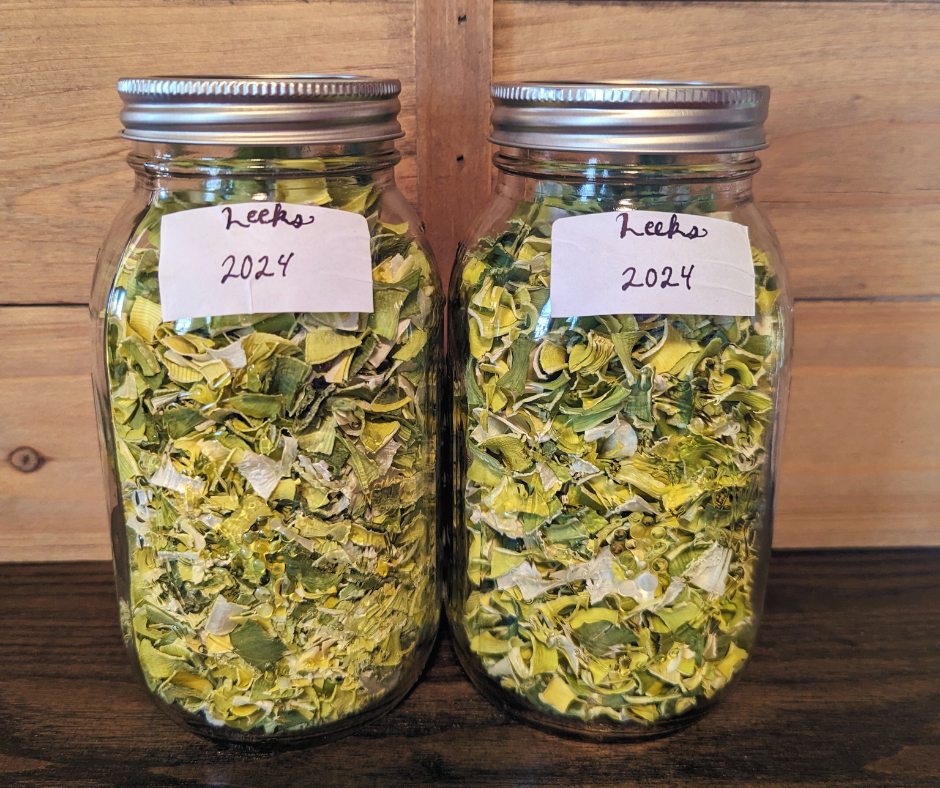
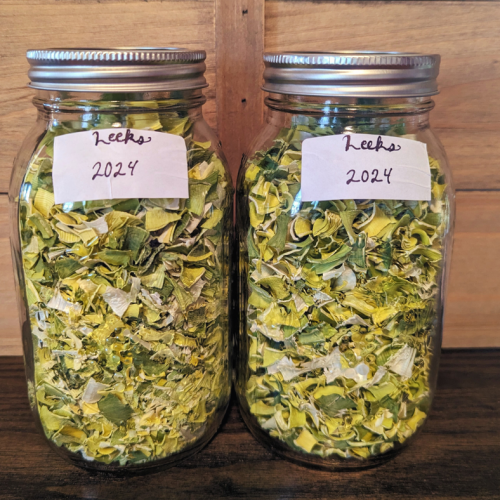
These dehydrated leeks are easy to make and wonderful to have on hand for soups, pastas, or any other dish you may need them for! I found these at a great price and knew I had to take advantage of such a wonderful deal.
Part of my job as homemaker, is to find ways where we can stretch a dollar and continue to live off of one income. So I always try to be prepared to preserve food whenever I can; and using a dehydrator is such an effortless way to do so.
Dehydrated Leeks
Ingredients/Materials:
- Cutting Board
- Knife
- Salad Spinner or Colander
- An Empty Sink
- Dehydrator or Oven
- Dehydrator Trays or Cookies Sheets
- Storage Containers- see more below
- About 8 Leeks
Preparing the leeks:

- Rinse off the leeks in cool water and cut off any parts that have started to wilt or are discolored.
- Cut off the roots.
*You can save the scraps for making vegetable broth later! Click here to read more.

- Trim the tops of the dark green, however much you want. This part is considered to be too tough, I don’t mind it so like to keep some on there. I cut off about half of the dark green.

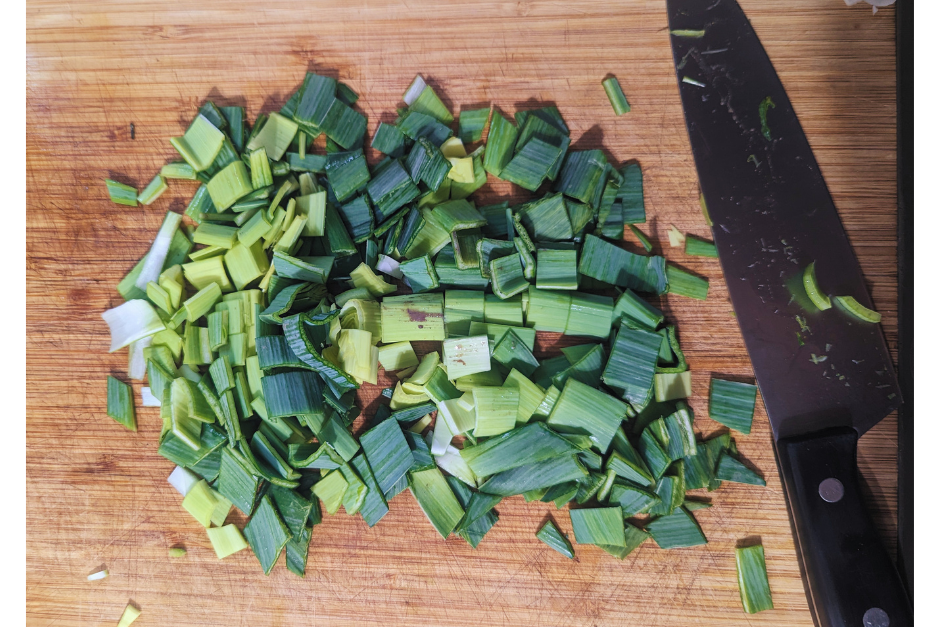
- Cut the leeks however you would like. Sliced, chopped, chunked, it’s really up to you and how you want to use them. I’m planning on using them in soup, so I chopped mine in smaller piece. Just keep in mind, the larger your pieces, the longer it will take for them to dry.
- Put the leeks into bowl and cover with water. Drain and rinse, repeat 2-3 more times to remove the sand. This sand is from how they are grown, an is harmless but no one wants a mouth full of sand!
- Use a salad spinner to remove excess water, or pat dry with a paper towel.

Let’s stay in touch! Subscribe to stay updated on my latest posts, and more.
Getting them in the dehydrator:
- Spread the leeks out onto the dehydrator trays, breaking apart any clumps and trying not to overlap them too much.
- Alternatively, you can spread them out on a cookie sheet to dry in the oven.

- Dehydrate between 122°-125°F for 8-10 hours.
- To dry in the oven: set it to it’s lowest setting, about 170°F for 4-5 hours. You may need to flip them half way in between.
- The leeks are finished once they can be easily snapped in half.
Storing the dried leeks:
- Once the leeks are completely cool, store them in in an air tight container for about a year.
Different ways you can store your dehydrated leeks:
- Canning Jars
- Vacuum sealer bags.
- Resealable bags
- Containers
I like to use a jar attachment and my vacuum sealer to store my dried goods, they will last longer this way. You can also use an oxygen absorber to lengthen the life of your dehydrated leeks.

If you are limited on space or would prefer a powder, you can do so by using a blender, coffee grinder, or an old fashioned mortar and pestle. I like to keep my leeks and other veggies like them in larger piece, so that I can use them like that or grind them into a powder whenever I want.
If you’re looking for more inspiration, I like use the book The Ultimate Dehydrator Cookbook to guide me on my dehydrating adventures.
How to Dehydrate Leeks
Equipment
- Cutting Board
- Knife
- Salad Spinner or Colander
- Empty Sink
- Dehydrator or Oven
- Dehydrator Trays
- Storage Containers
Ingredients
- 8 Leeks
Instructions
- Prepare the leeks by rinsing them in cool water and cutting off any parts that have started to wilt or are discolored. Cut off the roots.
- Trim the tough dark green parts off the top. Take as much as you want off, I don't mind them being a little tough, so I take about half off.
- Cut the leeks however you would like. Sliced, chopped, chunked, it's really up to you and how you want to use them.
- Put the leeks into bowl and cover with water. Drain and rinse, repeat 2-3 more times to remove the sand.
- Use a salad spinner to remove excess water, or pat dry with a paper towel.
- Spread the leeks out onto the dehydrator trays, breaking apart any clumps and trying not to overlap them too much. Alternatively, you can spread them out on a cookie sheet to dry in the oven.
- Dehydrate between 122°-125°F for 8-10 hours.To dry in the oven: set it to it's lowest setting, at about 170°F for 4-5 hours. You may need to flip them half way in between.
- The leeks are finished once they can be easily snapped in half.
- Once the leeks are completely cool, store them in in an air tight container for about a year.*
- You can turn this into a powder by grinding them in a blender, coffee grinder, or using a mortar and pestle.
Notes

Congratulations! You’ve just saved some money and a little time in prepping a few meals in the future.
If you continue to learn to preserve food when you find an irresistible deal while out grocery shopping, you can save a lot of money in the long run; and not to mention how satisfying it can be to have a cabinet full of foods you preserved.

