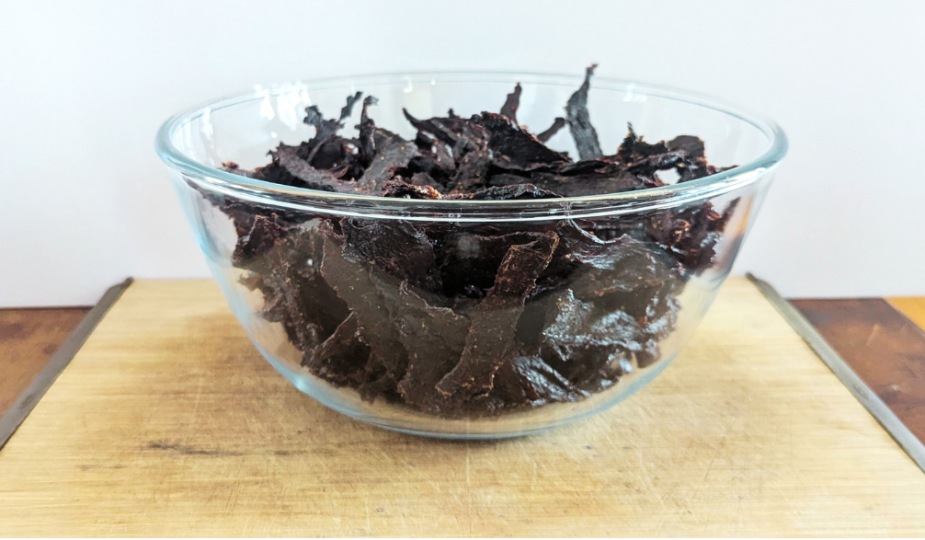
Although beef itself can be expensive, buying jerky in the store is even more so. Plus, if you have any allergies or food restrictions, you run the risk of not being able to find some that you can have. So why not make some homemade jerky?
This recipe comes from my grandfather, Pappy, who would make large batches of deer jerky after one of his hunting trips. We don’t go deer hunting, yet, but I really enjoy using the same recipe for beef….with a few changes to match my own dietary restrictions.
I miss my grandparents dearly, so in honor of Pappy, today we are making homemade beef jerky.
Pappy’s Homemade Beef Jerky:
Making jerky can be a great way to reduce food waste, but if you’re looking for more tips, Click Here!
Ingredients:
- 5 lbs of lean Beef or Venison
- 1 tsp. of the following – salt, garlic powder, onion powder, black pepper.
- 1/3 cup Worcestershire sauce.
- 1/4 cup coconut aminos or soy sauce.
*Disclaimer: You can make jerky out of almost any type of meat you want. These instructions will work for beef or deer meat. If you want to use something else, like chicken, you will need to research preparation and dry times to make sure you are taking the proper safety measures.
Pick and Prepare your meat.
- Pick a lean cut of meat, such as New York strip, London broil, or flank steaks. Fat does not dry, and the more fatty your cut of meat, the more quickly the jerky will spoil. I just use a lean roast I already had.
- Pre-freeze for two months to kill off most pathogens, bacteria, and parasites. 1
- Trim off any skin or excess fat.
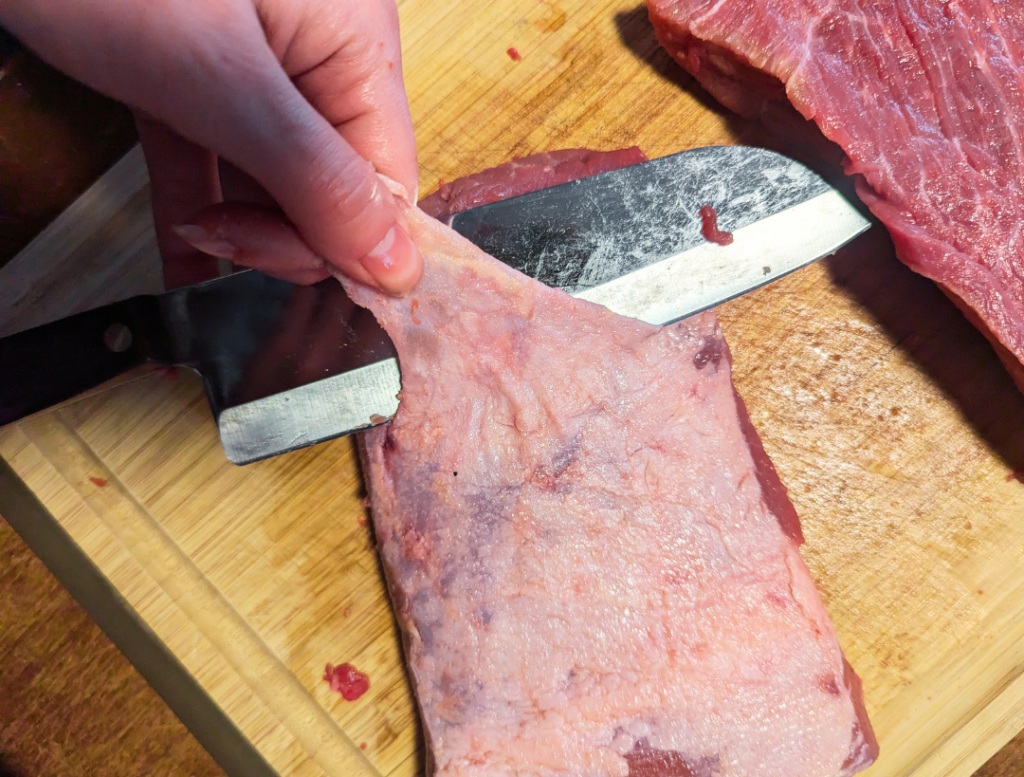
- Slice your meat between 1/8″ to 1/4″ thick, depending on how crunchy you want you jerky to be. This may be easier if you partially freeze the meat first.
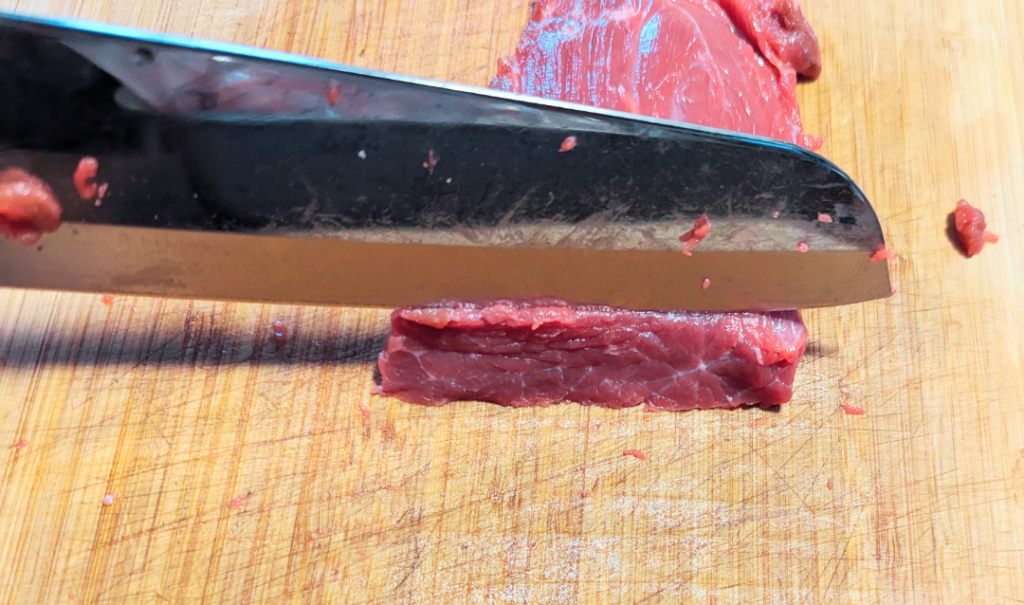
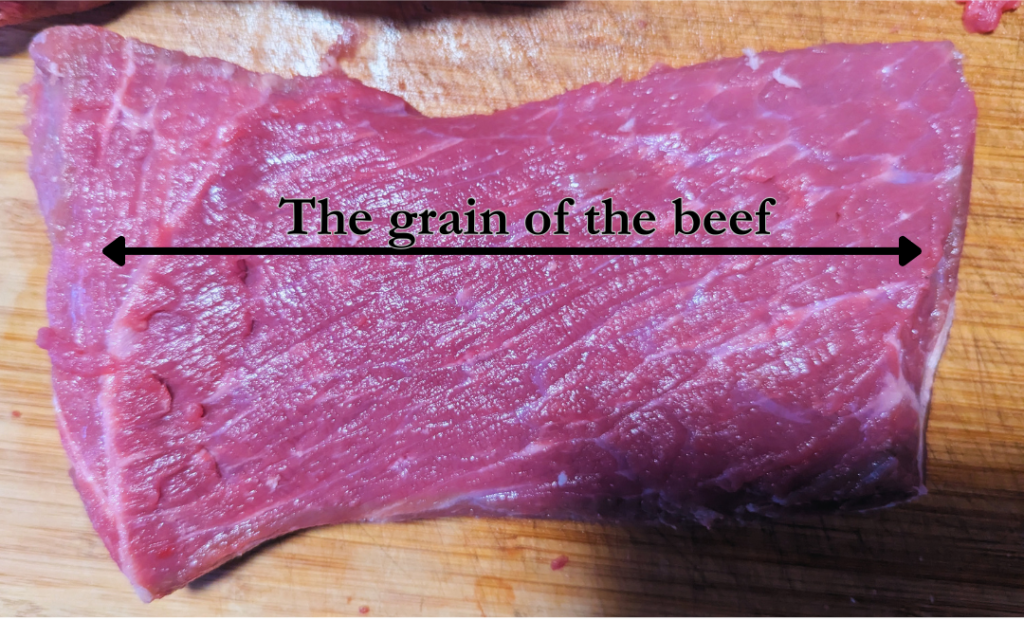
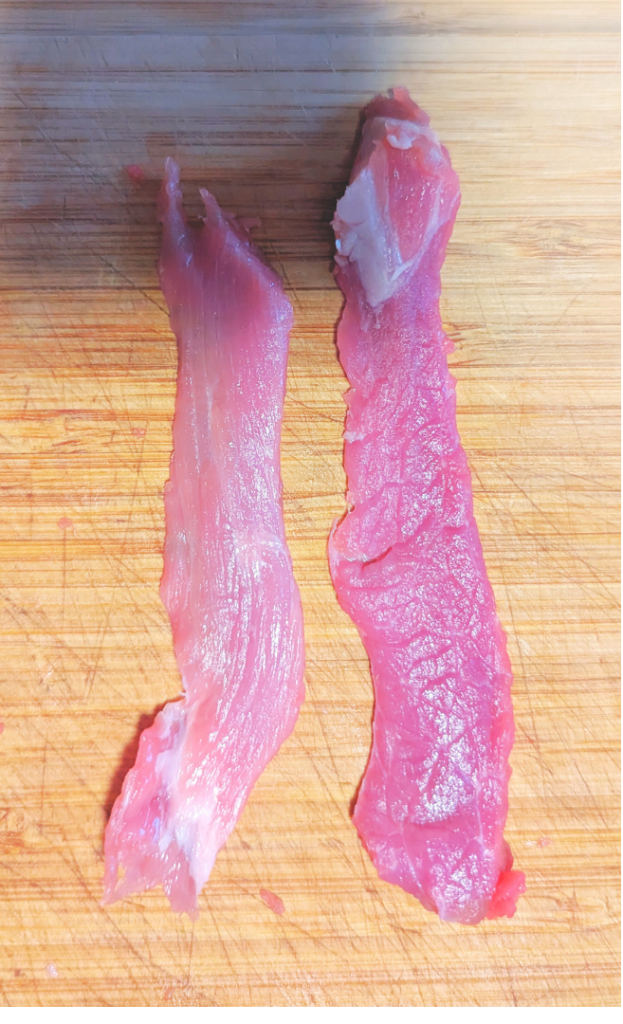
I prefer cutting against the grain, but you can play around with different cuts to get it how you like.
The grain of the meat is simply the direction that the muscle fibers run. You can see lines running through the meat, this is the direction of the grain.
On this roast, you see how the grain of the beef runs from left to right. To cut against it, simply cut from top to bottom.
Slicing against the grain will give you a more tender piece of jerky. Here you can see the difference in a piece cut with the grain (left) and a piece cut against it (right).
- Place all of your slices in a bag or large dish. I used a 13×9 pan.
Like what you see? Let’s stay in touch, subscribe to the newsletter!
Marinate the Beef Slices.
- Mix together the Worcestershire sauce, coconut aminos/soy sauce, and spices.
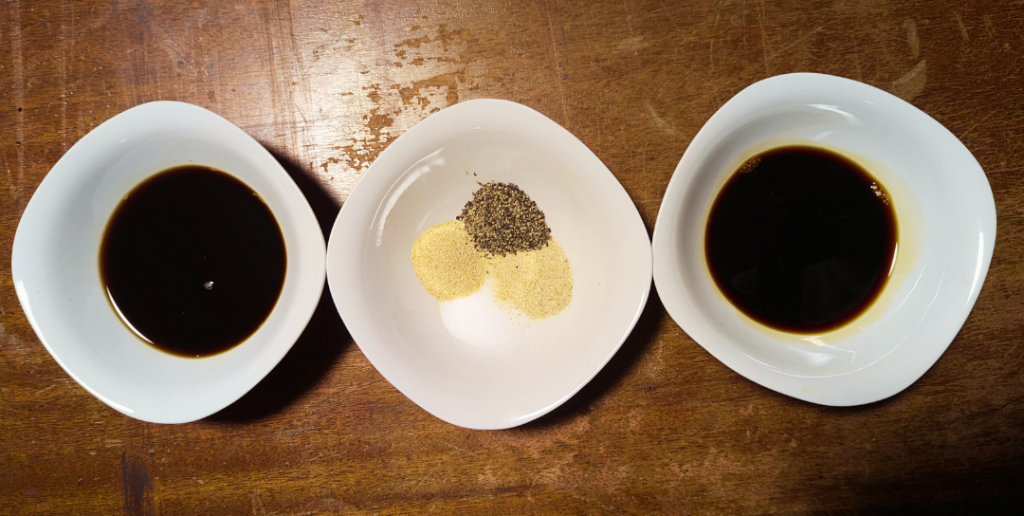
- Pour the mixture over the prepared meat, and massage into the meat, making sure to get every piece covered.
- Cover, and let it rest in the fridge for at least 8 hours or overnight.
Dehydrate into Jerky.
After the meat has marinated overnight (or longer if you’re like me and forgot about it), you can now dehydrate it to turn them into jerky.
- Spread the meat slices onto dehydrator trays in a single layer, allowing a little space in between the pieces for air to flow around them.
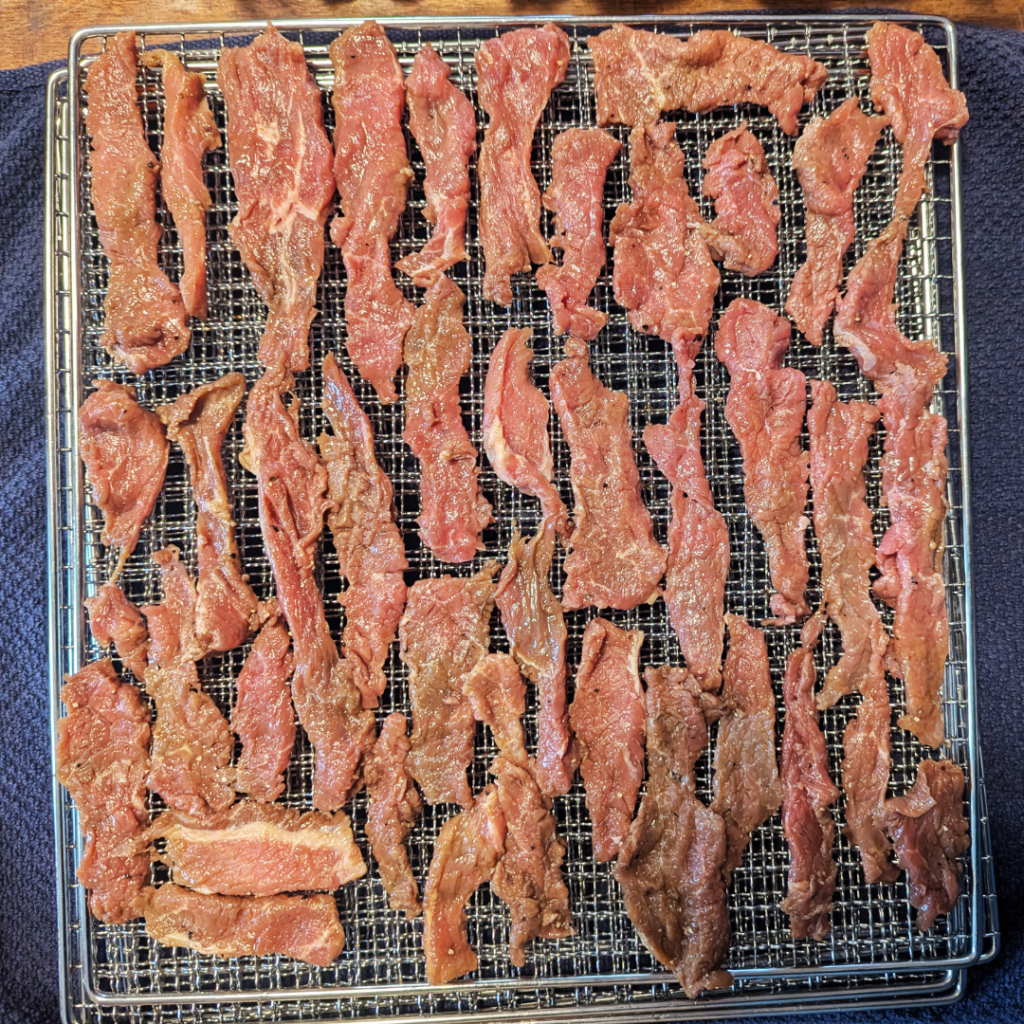
You will notice that the beef is no longer pink, this is completely normal, and actually a good sign.
- Dehydrate between 155-160°F for 6-8 hours. The meat should bend and have no signs of redness. If you cut your beef a little on the thin side, when it’s done drying, it will snap. Don’t be afraid to dry longer if needed, or if you’re unsure if they’re ready or not.
- Once the meat is dry, as an extra safety measure, bake on a cookie sheet in a 275°F oven for 10-15 minutes. This helps to make sure the meat is completely dry.
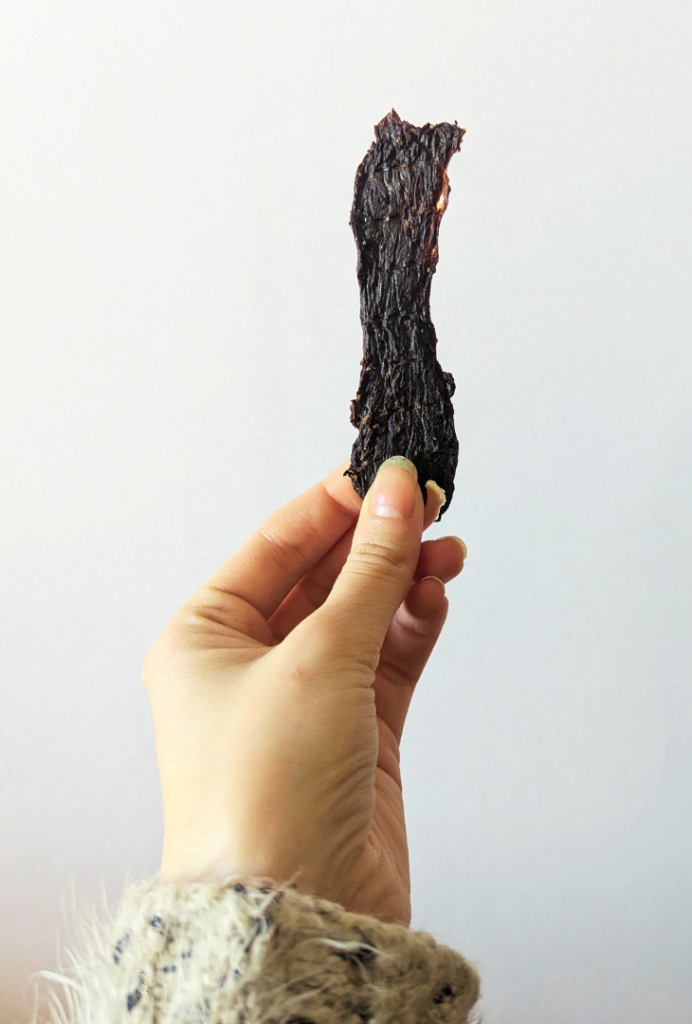
- Allow your jerky to cool completely before storing in an airtight container, or vacuum sealed bag.
*It’s not recommended to keep homemade jerky for long term, but it can be kept in the pantry for up to 1 month, in the refrigerator for up to 6 months or in the freezer for up to 1 year.
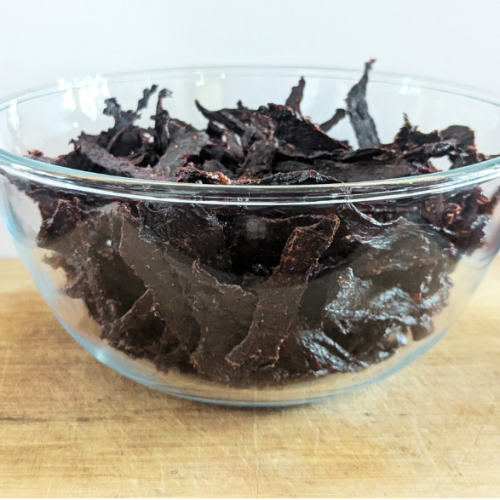
Pappy’s Beef Jerky Recipe
Equipment
- Dehydrator
- Large dish or zip-lock bag -for marinating in
- Cutting Board
- Knife
Ingredients
- 5 lbs Lean Beef or Venison -see notes
- 1 tsp Salt
- 1 tsp. Garlic Powder
- 1 tsp. Onion Powder
- 1 tsp. Black Pepper
- ⅓ cup Worcestershire Sauce
- ¼ cup Coconut Aminos or Soy Sauce
Instructions
- Pre-Freeze your meat for 2 months, to kill off most pathogens, bacteria, and parasites.
- Trim off any skin or excess fat.
- Slice your meat between 1/8" to 1/4" thick, depending on how crunchy you want you jerky to be. This may be easier if you partially freeze the meat first.
- Place all of your slices in a bag or large dish. I used a 13×9 pan.
- Mix together the Worcestershire sauce, coconut aminos/soy sauce, and spices.
- Pour the mixture over the prepared meat, and massage into the meat, making sure to get every piece covered.
- Cover, and let it rest in the fridge for at least 8 hours or overnight.
- Spread the meat slices onto dehydrator trays in a single layer, allowing a little space in between the pieces for air to flow around them.
- Dehydrate between 155-160°F for 6-8 hours. The meat should bend and have no signs of redness. If you cut your beef a little on the thin side, when it's done drying, it will snap. Don't be afraid to dry longer if needed, or if you're unsure if they're ready or not.
- Once the meat is dry, bake on a cookie sheet in a 275°F oven for 10-15 minutes. This helps to make sure the meat is completely dry.
- Allow your jerky to cool completely before storing in an airtight container, or vacuum sealed bag. Store for up to 1 month in the pantry, 6 months in the fridge, or 1 year in the freezer.
Notes
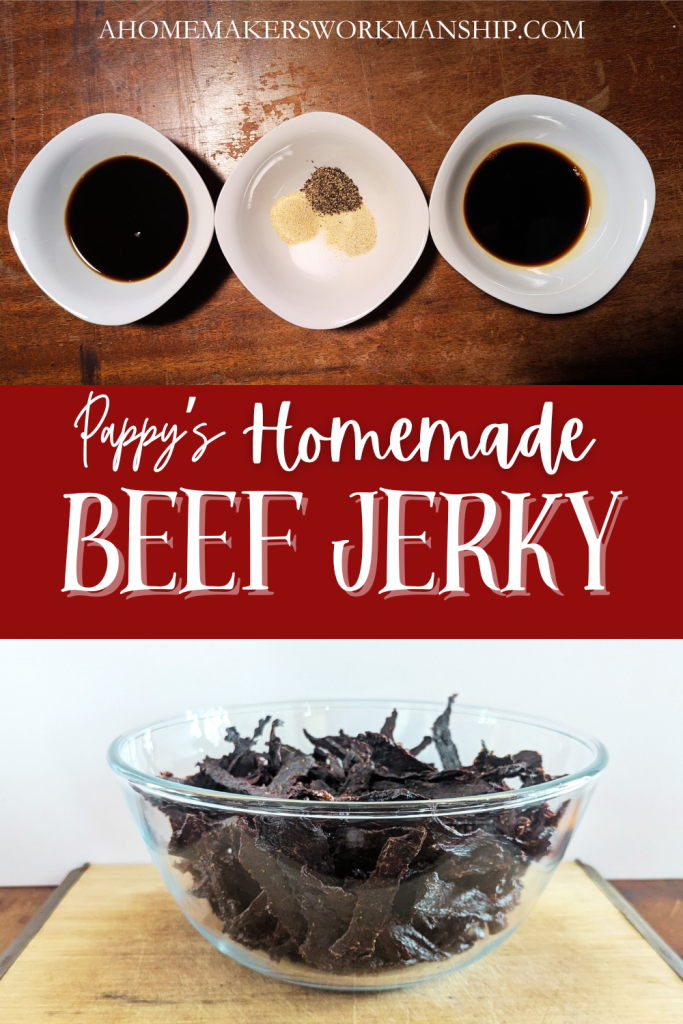
I hope you have fun using this adaption of my grandfathers recipe to make your own jerky, and coming up with different flavors to make!
Do you have a favorite family recipe to still like to make? Share your thoughts below!
References:

