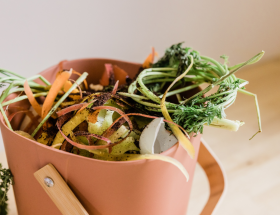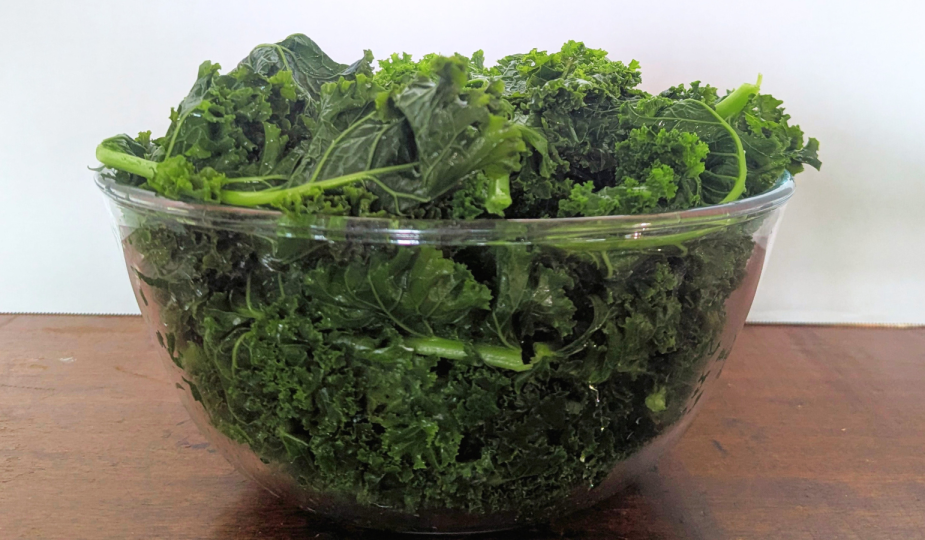
Summer is truly over, and some of us are getting in a fall harvest, which might just include leafy greens such as kale, collards, and turnip. Today we are going over step-by-step instructions on how to freeze greens so that you can have them all winter long!
If you didn’t plant any green this year you can still stock up on them for a good price from the grocery store! Just shop around in your area and see what you can find.
Let’s get started:
Taking the time to properly prepare greens before freezing them is important so that they:
- Don’t get soggy
- Stay pretty and green
- Keep a crisp and delicious flavor
- Maintain their nutrients as much as possible
Prepare the Greens
- Sort through the greens checking for any bugs, or bad pieces that might be hiding. This may also include any thick and woody pieces you may not want to much down on (save those for vegetable broth later!).
- Rinse thoroughly with cool water, keeping your eyes open just in case you missed anything in the first step.
- Remove the excess water by using a salad spinner, or gently shaking them off.
- Cut your greens however you would like.
Blanching the Greens
- Bring a large pot of water to a rolling* boil. While that’s coming to boil, fill a large bowl with ice water, making sure to leave enough room for your greens. Set the bowl to the side but keep it close.
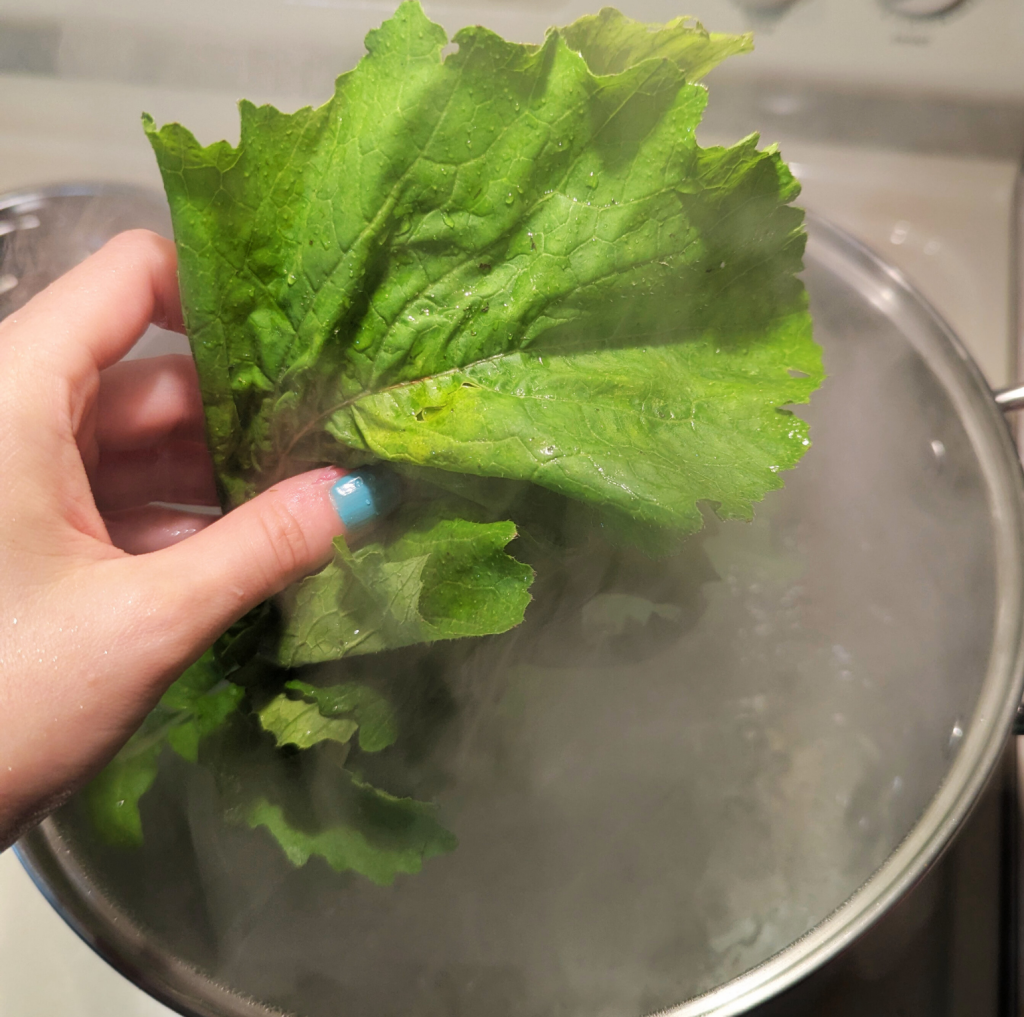
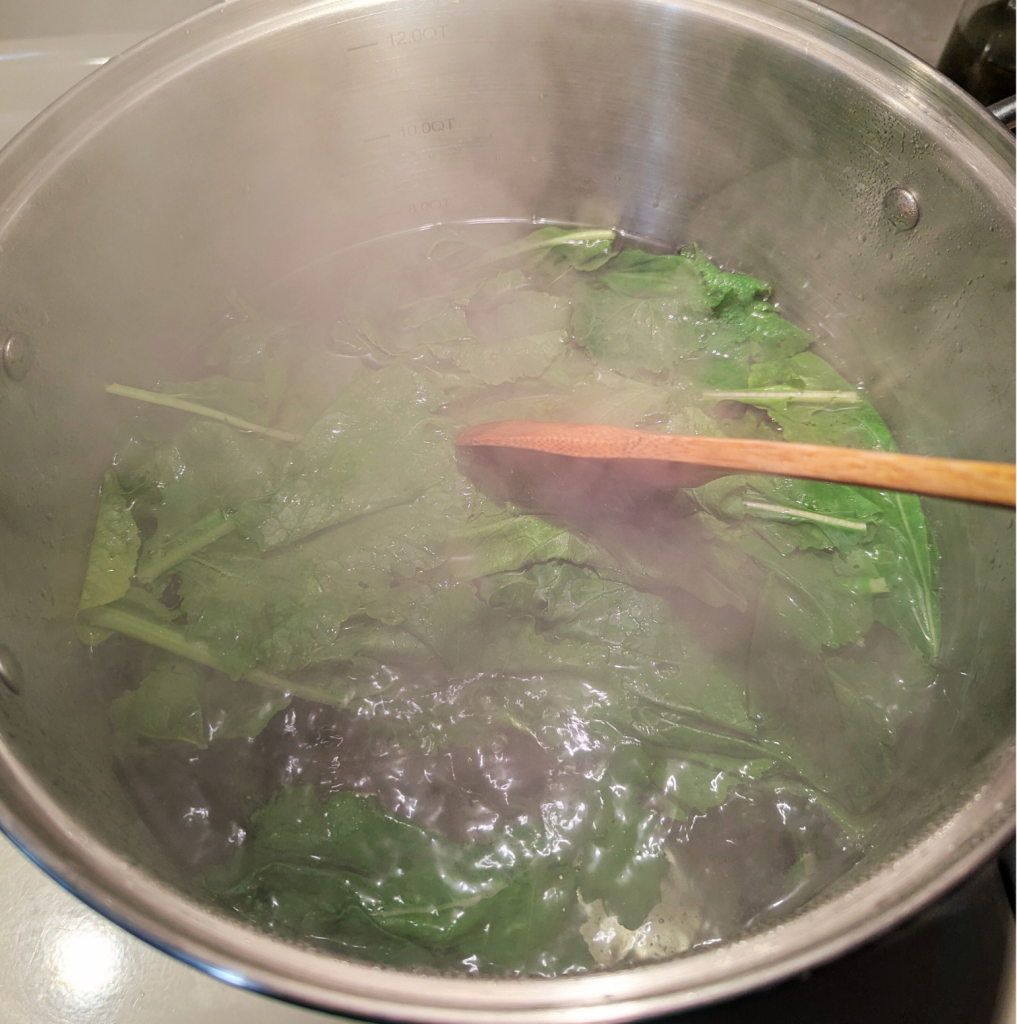
- Once your water is at rolling boil, add in a manageable amount of greens, you don’t want to over crowd your pot. Boil for 2 minutes.
- After 2 minutes, remove the greens and put them in the ice water to stop the cooking process. Allow them to cool completely before removing from the ice water.
- Gently squeeze the water out of the greens, and use a salad spinner (if you have one) to remove as much of the excess water as possible. Set them to the side.
- Repeat this process (boiling, cooling, squeezing), until all of your greens have been blanched. You may need to change out the ice water a few times to keep it cold.
Tip: If you are doing multiple types of greens, and want to keep them separate, blanch one type at a time, and keep them in labeled bowls so when your all done you know what’s what.
*Rolling Boil = a vigorous boil with large, quickly developing bubbles that does not stop boiling when stirred.
Don’t Miss Out, Subscribe to our Newsletter!
Freeze the Greens
Now that your greens are prepared, they can be packaged up to be frozen.
- Separate and weigh out your greens in the portions you want. I like to freeze them in 8oz. bags.
- Freeze the greens using freezer bags, jars/containers, or a vacuum sealer.
- The greens can last for about 12 months1, if stored properly.
Cooking the Greens from Frozen
Most of the time the greens can be cooked straight from the freezer! Add them to a small pot with a little water, and allow them to steam until just tender enough to enjoy, then season how you like. You can also freeze your greens in small pieces to be added to soups when needed.
Freezing Greens
Equipment
- 1 Large Pot for boiling water
- 1 Large Bowl for ice water
- Spoon
- Salad Spinner optional
Ingredients
- 1 bundle Fresh Greens of your choosing e.g. collard, kale, turnip…
- Water
- Ice
Instructions
Prepare the Greens
- Sort through your greens, checking for bugs, and any bad pieces that may be hiding. This may also include any large, woody piece that is too tough to eat.
- Rinse thoroughly with cool water.
- Remove excess water by using a salad spinner, or gently shaking them.
- Cut your greens however you would like.
Blanch
- Bring a large pot of water to a rolling boil. While that's coming to a boil, fill a large bowl with ice water, making sure to leave enough room for your greens, set aside but keep it close.
- Once your water is at a rolling boil, add in a manageable amount of green for the size pot you're using, you don't want to over crowd the pot. Boil for 2 minute.
- After 2 minutes, remove the greens and put them in the ice water to stop the cooking process. Allow them to cool completely before removing from the ice water. Gently squeeze out the excess water, and run them through the salad spinner. Set these greens to the side.
- Repeat this process (boiling, cooling, and squeezing), until all of your greens have been blanched.
Freeze
- After all of your greens have gone through the blanching process, you can start separating them out to be frozen. I like to freeze in 8oz. bags.
- Once separated, use freezer bags, or a vacuum sealer to store the greens in, label them and stick the min the freezer.
- The greens can last for 12 months if stored properly.
Cooking
- Most of the time the greens can be cooked straight from the freezer! Add them to a small pot with a little water, and allow them to steam until just tender enough to enjoy, then season how you like. You can also freeze your greens in small pieces to be added to soups when needed.
Notes
What are some ways you like to cook greens? Let me know in the comments below!
- How Long Do Frozen Collard Greens Last? | stilltasty.com ↩︎