Today we are going to learn two different methods to cleaning wooden utensils, and how to care for them so that they last longer.
Jump to Recipe
Why Use Wooden Utensils?
- Wooden utensils are strong and gentle, they won’t scratch your nonstick pots and pans, and they stay cool to the touch while using them.
- They are non-reactive, so they won’t react to your food, leaving a metallic taste like a metal spoon can.
- Naturally resist bacteria and mold.
- They’re eye appealing, and look so nice in the kitchen.
As much as I enjoy cooking with my wooden utensils, they’re not perfect. They do need a little extra care than other utensils and they have the tendency to hold stains and odor.
Unfortunately, I have never deep cleaned or sanitized my wooden utensils, I didn’t really know it was important until recently, and I’ve had these for about 4 years or more.
Learning how to clean something new can be a bit daunting, so I found a bunch of different methods and combined a few to give me 2 methods to try with you today.
We’ll call these methods the scrub method and the soak method.
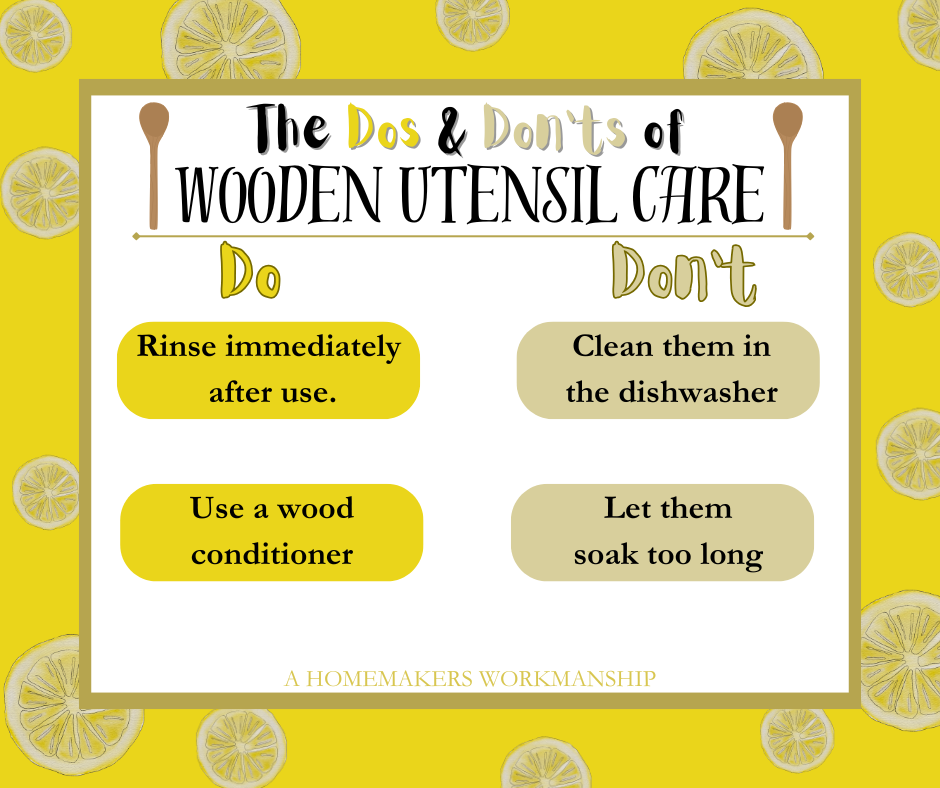
Before we get started, let go over the dos and don’ts of wooden utensil care1:
- Do rinse your wooden utensil immediately after use, this helps prevent the build up of odor and grease.
- Don’t Let you wooden utensil soak too long, they can crack and split if left too long in water.
- Don’t dish wash your wooden utensils, this can cause them to swell and split like when soaking them.
- Do condition them if they dry out.
Okay, lets get started.

The first method I tried is the scrub method.
You will need:
- Wooden utensils.
- A sink or 13×9 pan.
- Baking soda.
- Salt.
- 1/2 a lemon or lemon juice and a rag.
- White Vinegar.
- Warm water.
Instructions:
- Starting with clean, dry utensils, place your utensils in a plugged sink or in a 13×9 pan.
- Mix equal parts of baking soda and salt. I used 1/4 c. of each and only used about half of the mixture in this experiment, you may need to adjust the amount if you have more or less utensils to clean.
- Coat the utensils with the baking soda mixture and let it set for 30 minutes.

- After the 30 minutes, take 1/2 a lemon or some lemon juice and a rag to start scrubbing your utensils: squeeze your lemon or pour a little juice over the utensil to create a paste with the baking soda mixture and scrub in small circular motions.- I notice some dirt coming off in this step. You can let this set for 15 minute to help deodorize your utensils even more or move on to the next step.

- Once you’re satisfied with your scrubbing, rinse the baking soda mixture off of your utensils with warm water and follow with some vinegar.
- Now you can wash them like normal with hot water and dish soap.
- Dry off your utensils and let them air dry completely before conditioning them.

Want to stay in touch? Don’t forget to subscribe!
While Those are Drying let’s test out Method Two: The Soak Method.
For this you will need:
- Wooden utensils
- A sink or 13×9 pan
- Hot but not boiling water.
- White Vinegar
- 1 tbsp Lemon juice
Instructions:
- Place your utensils in a plugged sink or 13×9 pan.
- Cover them with equal parts of hot water and vinegar.- I used about 3 cups of each to cover my three utensils.
- Add in 1 tbsp of lemon juice.
- Set something heavy on top of the utensils, like a plate, so that they are submerged, and let them soak for 15 minutes.- Remember not to let them soak too long!

- Once the time is up, remove the utensils from their bath and wash them as normal with hot water and dish soap.
- Dry them off and let them air dry completely before conditioning.
My thoughts: After testing both of these methods, I think I like the results of the scrub method better. It seemed to get more of the build up off and lightened them up a little more. Both methods did well deodorizing but the scrub method seemed to have done a better job there as well.
Conditioning your Wooden Utensils
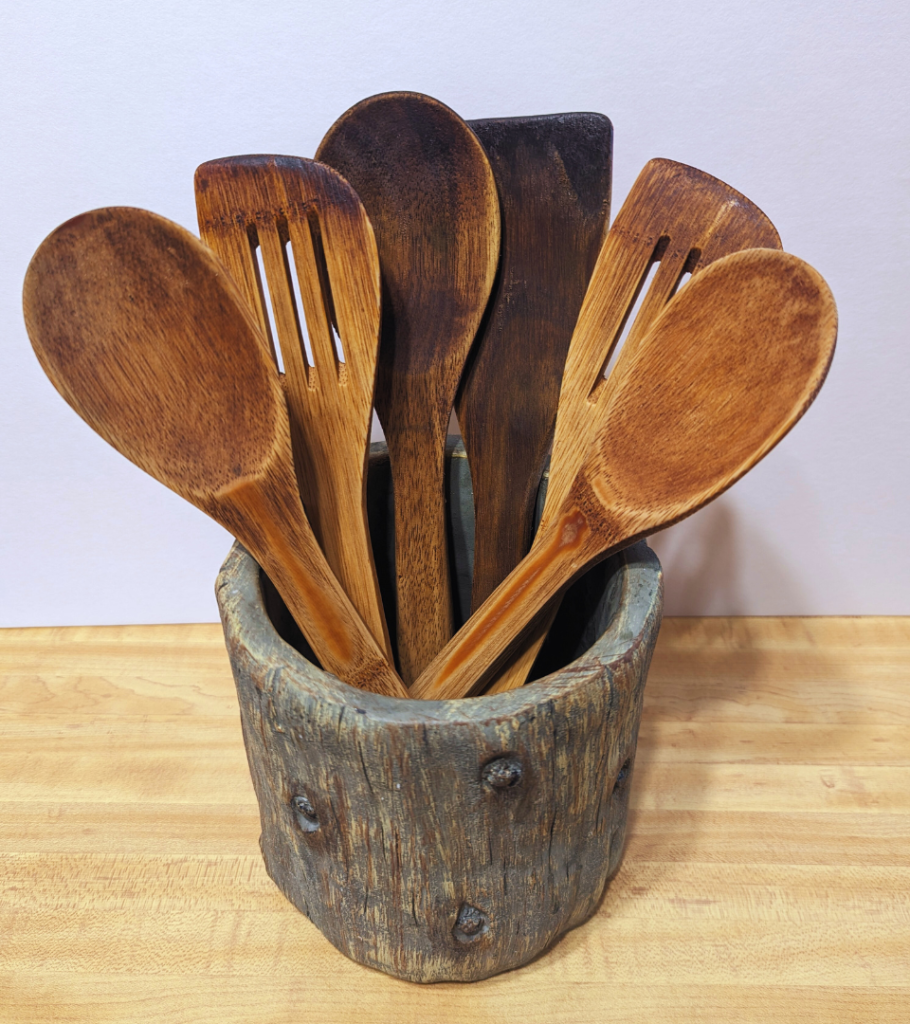
Wooden utensils do dry out from time to time so to help keep them from becoming brittle, it’s a good idea to condition them as needed.
For this you will need:
- Some type of food safe wood conditioner-They make wood conditioners you can buy or you can use mineral, walnut, or coconut oil, or even bees wax. For today’s experiment I’m using food grade mineral oil.
- Clean and dry wooden utensils.
- A rag or paper towel.
Instructions:
- Star with your clean and dry utensils.
- Pour a little mineral oil onto a rag or paper towel, and rub it over your utensils in a small, circular motions.
- Let the first layer of oil soak for 15 minutes.
- After 15 minutes, check to see if you think they need any more oil.- I applied 1 more coat but if they are very dry and old you may need to reapply small amounts of oil over a few days to prevent sudden absorption and expansion.
- Wipe off the excess oil and put the utensils away.

Method One -Scrubbing
Equipment
- 3 Wooden Utensils
- An empty sink or 13×9 pan -something to hold your utensils in.
- Clean cloth -optional, for using lemon juice instead of a fresh lemon.
- Paper towel or another cloth -for conditioning
Materials
- 2 TBSP Baking soda
- 2 TBSP Salt
- ½ Lemon or Lemon Juice -Use the cloth if using lemon juice instead of lemon
- 1 Cup White Vinegar
- Warm Water
- Food Safe Wood Conditioner -see notes
- Dish Soap
- Hot Water
Instructions
Cleaning
- Start with clean, dry wooden utensils. Place your utensils in an empty sink, or 13×9 pan.
- Mix together the baking soda and salt. Coat the utensils with the mixture and let rest for at least 30 minutes.
- After 30 minutes, use the ½ lemon or lemon juice and cloth to scrub the utensils. Working in small circular motions. Allow this to set for 15 minutes to deodorize the utensils even more, or move onto the next step.
- Rinse the utensils off with warm water, followed by the vinegar.
- Wash them like normal with hot water and dish soap.
- Allow the utensils to dry completely before conditioning.
Conditioning
- Once the utensils are completely dry, use a paper towel or cloth to apply the wood conditioner of your choosing. Working in small, circular motions.
- Allow the conditioner to soak for 15 minutes.
- Check to see if they need more conditioner, you may need to apply more than one coat.
- If your utensils are very dry, and you need multiple coats of conditioner, apply more coats over the next few days to prevent sudden absorption and expansion.
- Wipe off any excess conditioner, and put the utensils away.
Notes
Method Two- Soaking
Equipment
- 3 Wooden Utensils
- An empty sink or 13×9 pan – something to hold your utensils in
- Clean cloth or paper towel
Materials
- 3 cups Hot Water – not boiling
- 3 cups White Vinegar
- 1 tbsp Lemon Juice
- Hot Water
- Dish Soap
- Food Safe Wood Conditioner – see notes
Instructions
Cleaning
- Start with clean, dry wooden utensils. Place your utensils in an plugged empty sink, or 13×9 pan.
- Cover them with the Hot Water and Vinegar.
- Add in Lemon Juice.
- Set something heavy on top of the utensils to keep them submerged. Allow them to soak for 15 minutes. Do not let them soak too long!
- After 15 minutes, drain the utensils, and wash normally with hot water and dish soap.
- Allow them to completely dry before conditioning.
Conditioning
- Once the utensils are completely dry, use a paper towel or cloth to apply the wood conditioner of your choosing. Working in small, circular motions.
- Allow the conditioner to soak for 15 minutes.
- Check to see if they need more conditioner, you may need to apply more than one coat.
- If your utensils are very dry, and you need multiple coats of conditioner, apply more coats over the next few days to prevent sudden absorption and expansion.
- Wipe off any excess conditioner, and put the utensils away.
Notes
*Don’t have time to clean these right now? Save it for later, and check out Cleaning when You Don’t Have Time!

My wooden utensils have held up well considering the fact that they are over 4 years old and haven’t been taken care of properly. Now that I know how to take care of them, I will be deep cleaning and conditioning them more often, about once a month.
I may go over them again, to try to lift up some more of the remaining stains, and sand down some of those rough patches, but that is an experiment for another day.
Thank you for coming on this journey with me as I learned something new!
How do you like to take care of your wooden utensils?
References:






This is so important and why I never kept my wooden spoons. 🙂
[…] last. I appreciate the step-by-step instructions on how to keep wooden spoons their best. https://ahomemakersworkmanship.wordpress.com/2024/05/23/2-methods-to-deep-cleaning-and-sanitizing-wo… […]
I wonder if this would be good for cutting boards.
From what I’ve found, I think the scrub method would be. I’ll be trying that next!
Thanks!
[…] are a lot of different methods to whiten pillow cases and sheets, and if you’ve read my post on cleaning wooden utensils, you’ll know that I like to experiment with different ways to do […]